Introduction
|
It's easy to get hooked on amigurumi (forgive the pun!). Whether you are a pro-crocheter or a lockdown learner, amigurumi is a fun and cute crochet technique. Consisting of only the single crochet stitch, I designed this crochet pattern over the summer, and it is a simple and cute project to get started with amigurumi. The doll is around 8 centimeters tall and consists of only 4 parts: a sphere-shaped body, a beak, and two hands, with the eyes (and optional blush) embroidered on. This project typically takes 2-4 hours to complete.
|

Photo by Christie Peng
|
Amigurumi: the Basics
|
What is amigurumi?
|
Amigurumi, meaning a crocheted or knitted stuffed doll, is a popular yarn craft that involves creating small stuffed toys, often in the shape of animals, mini foods, and scenery. The word amigurumi is a blend of two Japanese terms: ami, which means crocheted or knitted; and nuigurumi, a small, stuffed doll. These dolls often take an aesthetic that is best described as kawaii, or cute!
|
|
Unlike many other crafts, you don't need much to get started with making amigurumi. The only materials required are a yarn of choice and a hook! Beyond the essentials, it is also handy to have toy stuffing (polyester works best), a yarn needle to sew body parts together, and stitch markers to keep count of rows (bobby pins or differently colored yarn work too).
Crochet hooks for amigurumi typically range from 2-4 millimeters, with the hook size increasing or decreasing based on the thickness of the yarn. For this project, I used a 3 millimeter hook, which works perfectly with my cotton-based yarns. Speaking of yarn, you will need yarn in the colors of yellow, orange (I used blue instead!), black, and optionally, pink. |
What you'll need:
|
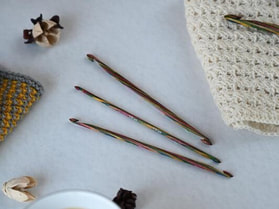
Crochet hooks, photo by Unsplash
|
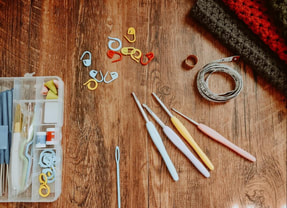
Stitch markers (top middle), photo by Unsplash
|

Yarn needle, photo by Unsplash
|
The Pattern ٩(˘◡˘)۶
|
1. Crocheting the body.
|
Since the bird's body is basically a giant circle, you'll need to start off by creating a magic circle for a seamless beginning. This involves wrapping the yarn around your fingers twice, and then inserting your hook to secure a loop. Also, make sure to use yellow yarn!
|
We'll start with the first row by crocheting 6 single crochets into the magic circle, before pulling the yarn end to close the round. From then on, we'll increase around the circle by crocheting two single crochets in one stitch, and then we'll decrease by crocheting one single crochet in two stitches to close. The pattern is as follows, with single crochet abbreviated as sc and the total stitches in parenthesis ():
|
Photos by Eileen Chen
|
|
As with the body, the beak and wings are also crocheted in the round. We'll switch to a color of choice (I used blue, but any other color is welcome) for the beak and keep with yellow for the wings. Make sure to leave long yarn tails when fastening off to make sewing in the parts easier during step 3! The steps to make the beak and wings are as follows:
|
2. Crocheting the beak and wings.
|
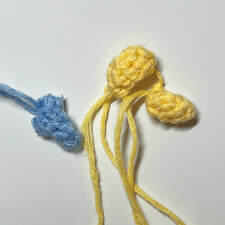
Photo by Eileen Chen
|
|
|
3. Sewing it all together.
|
Now that we have all the parts, we'll use a yarn needle to secure them to the body. First, position the wings on either side of the middle of the body, around row 11. Sew the wings on, one at a time, with a running stitch by passing the needle and yarn in and out of the wing and body at a regular distance. Then, use the same method to sew on the beak in-between the two wings.
|
|
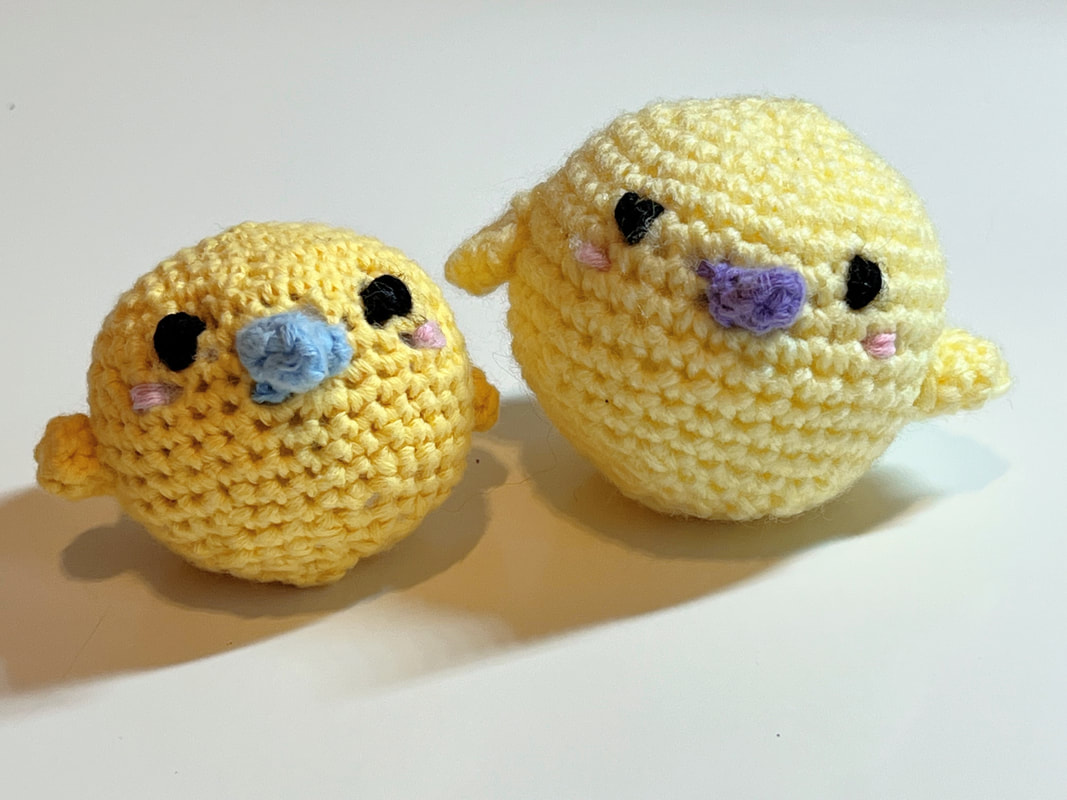
Finally, we'll embroider on the eyes and blush. To make an eye, pass black yarn over and under the same stitch in a vertical direction several times (I always repeat 3 times!). Do the same for the blush, but in a horizontal direction between the eyes and beak. Cut off all yarn ends to finish.
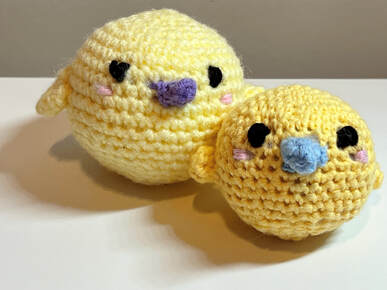
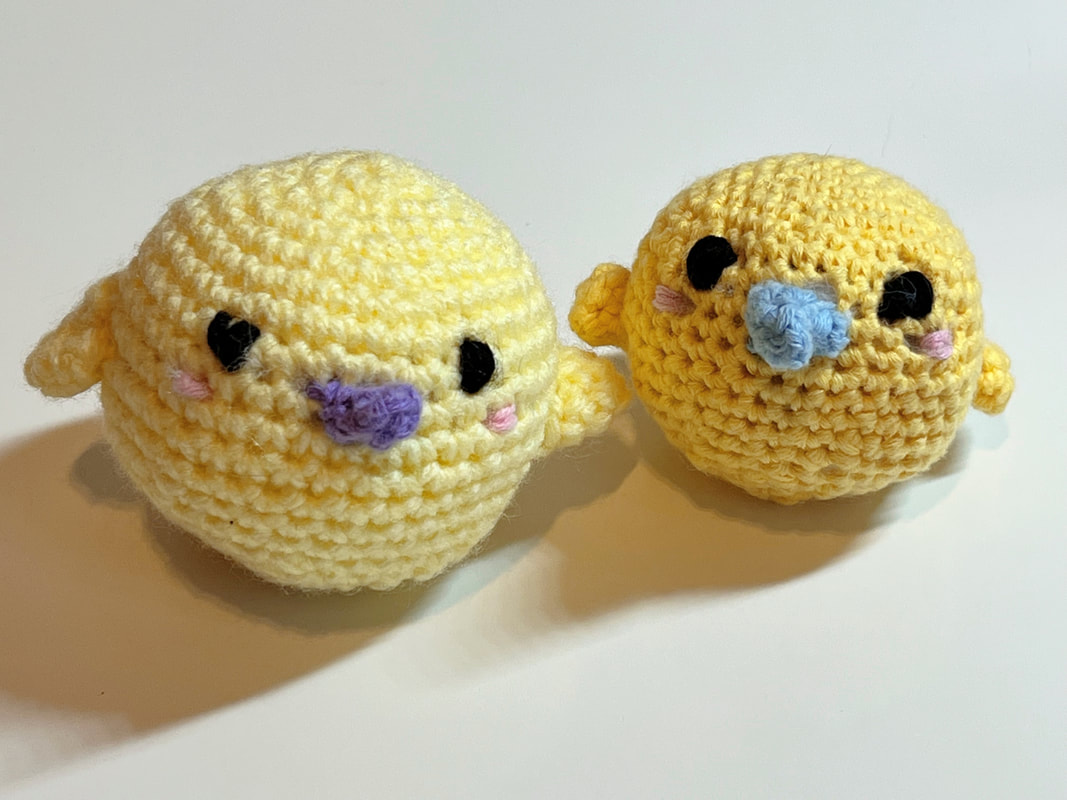
And that's it! We now have a super cute small stuffed baby bird. Feel free to experiment with different yarn and hook sizes (as in the photos below), or with crocheting little add-ons to spice up the pattern! |
Photos by Eileen Chen
|
|
Photos by Eileen Chen
|
|
